Don’t be intimidated—setting up a drip irrigation system is much simpler than it sounds. It’s basically LEGOs for adults. And it’s totally worth it: Drip systems are low-pressure, low-volume systems that deliver water exclusively where it’s needed, at the root zone of your cannabis plant.
Using a drip system minimizes evaporation, weeds (the non-cannabis kind), and problems related to moist conditions, and all the pieces will cost you less than $100. Here’s how to get the job done.
You’ll need:
- Hose wye
- Gooseneck swivel
- Battery-powered timer
- Vacuum breaker
- Hose-to-thread coupling
- Pressure regulator with filter
- Pipe-to-thread tubing connector
- ½-inch tubing (polyethylene)
- ½-inch elbow connectors
- Landscape staples
- ¼-inch tubing (polyethylene)
- ¼-inch barbed connectors
- ¼-inch goof plugs
- ¼-inch punch tool
- ½-inch figure 8 end clamp
Step one: get your spigot ready

- Add a hose wye with valves to split an outside spigot. This allows you to use one branch for the garden hose and have the other connect to your drip system.
- A gooseneck swivel makes everything hang straight and takes stress off the plastic components.
- A battery-powered timer will make life so easy. Don’t skip this.
- A vacuum breaker prevents contaminated hose water from backwashing into your house’s supply lines and is often required by your state’s plumbing code.
- A hose-to-thread coupling allows you to attach the hose to the pressure regulator and filter.
- A pressure regulator with filter reduces incoming water pressure to a set pressure usable by a drip system.
- Pipe-thread-to-tubing connector allows you to connect the filter to the ½-inch tubing that will go to your plants.
Step two: from spigot to planting bed

Use ½-inch black tubing (polyethylene)to run the line from the spigot to your planting bed or containers. It might need to be unrolled and allowed to relax first so it’s more flexible.
Hide the tubing by snaking it along walls or fences. You might also consider creating a trench for the tubing to run a few inches beneath the soil, or you may need to use ½-inch elbow connectors for any sharp turns and use landscape staples to keep it in place.
Step three: lay emitter line
Once you’ve reached your planting bed, it’s time to switch to emitters. Save yourself a whole lot of hassle by using ¼-inch tubing with pre-drilled emitters placed every 12 inches.
Use a ¼-hole punch tool to puncture the larger ½-inch tubing. Be careful not to punch through the back side! (If you do punch through or mess up, use a ¼-inch goof plug to cap it off). Use a ¼-inch barbed connector to connect to the small emitter tubing to the larger ½-inch tubing.
Snake the smaller emitter lines around the base of your plants, so the holes are positioned around the root zone on all sides of your cannabis plants. If it’s a big bed, use several shorter lines. Cap each line with a ¼-inch goof plug.
Step four: flush it out and cap it off
Once all the tubing and attachments are placed, turn on the water for a minute to flush dirt out of the tubing.
Afterwards, seal the ½-tubing by sliding a ½-inch figure 8 end clamp onto the open end of the tubing. Crimp a few inches of the tubing and fold it into the other side of the clamp, effectively closing it off.
How much to water?
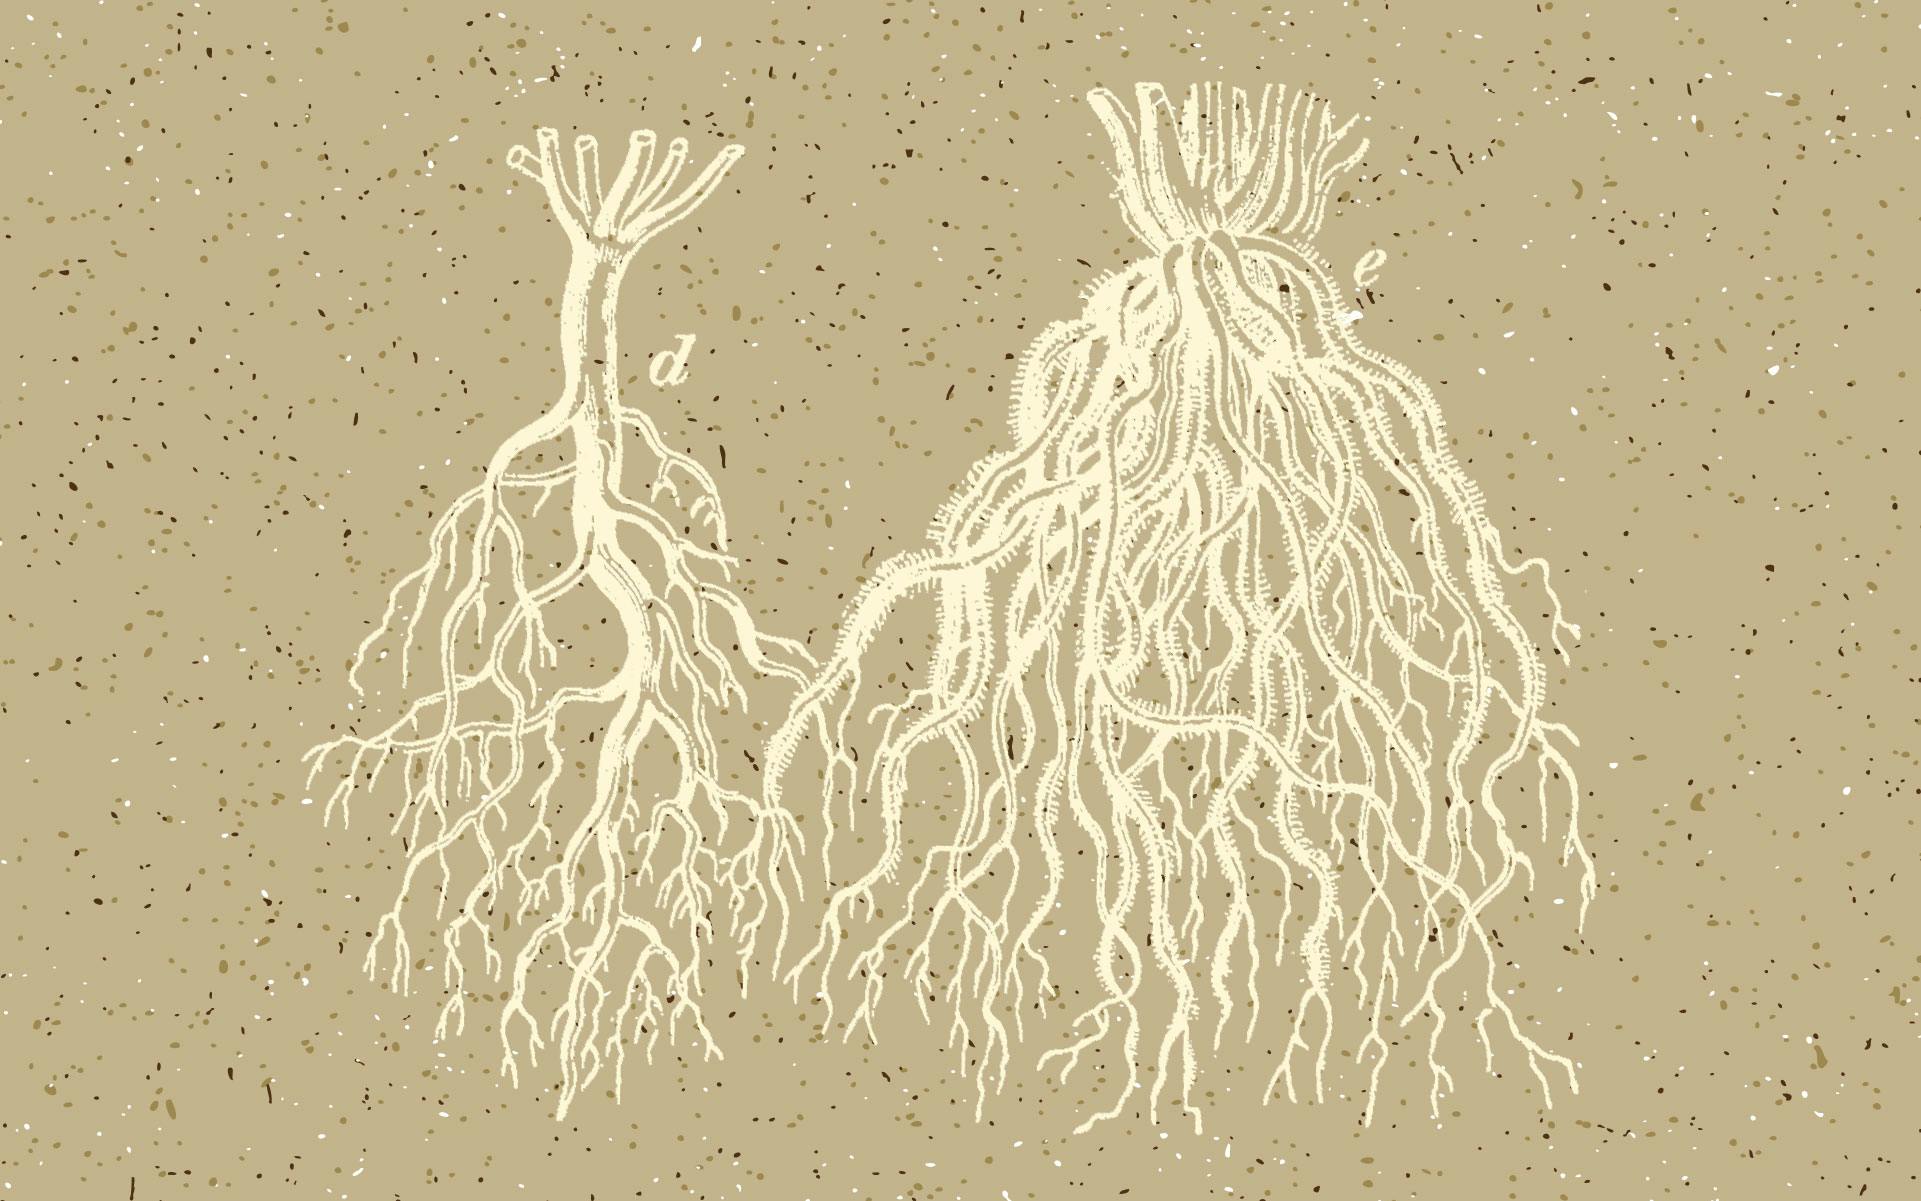
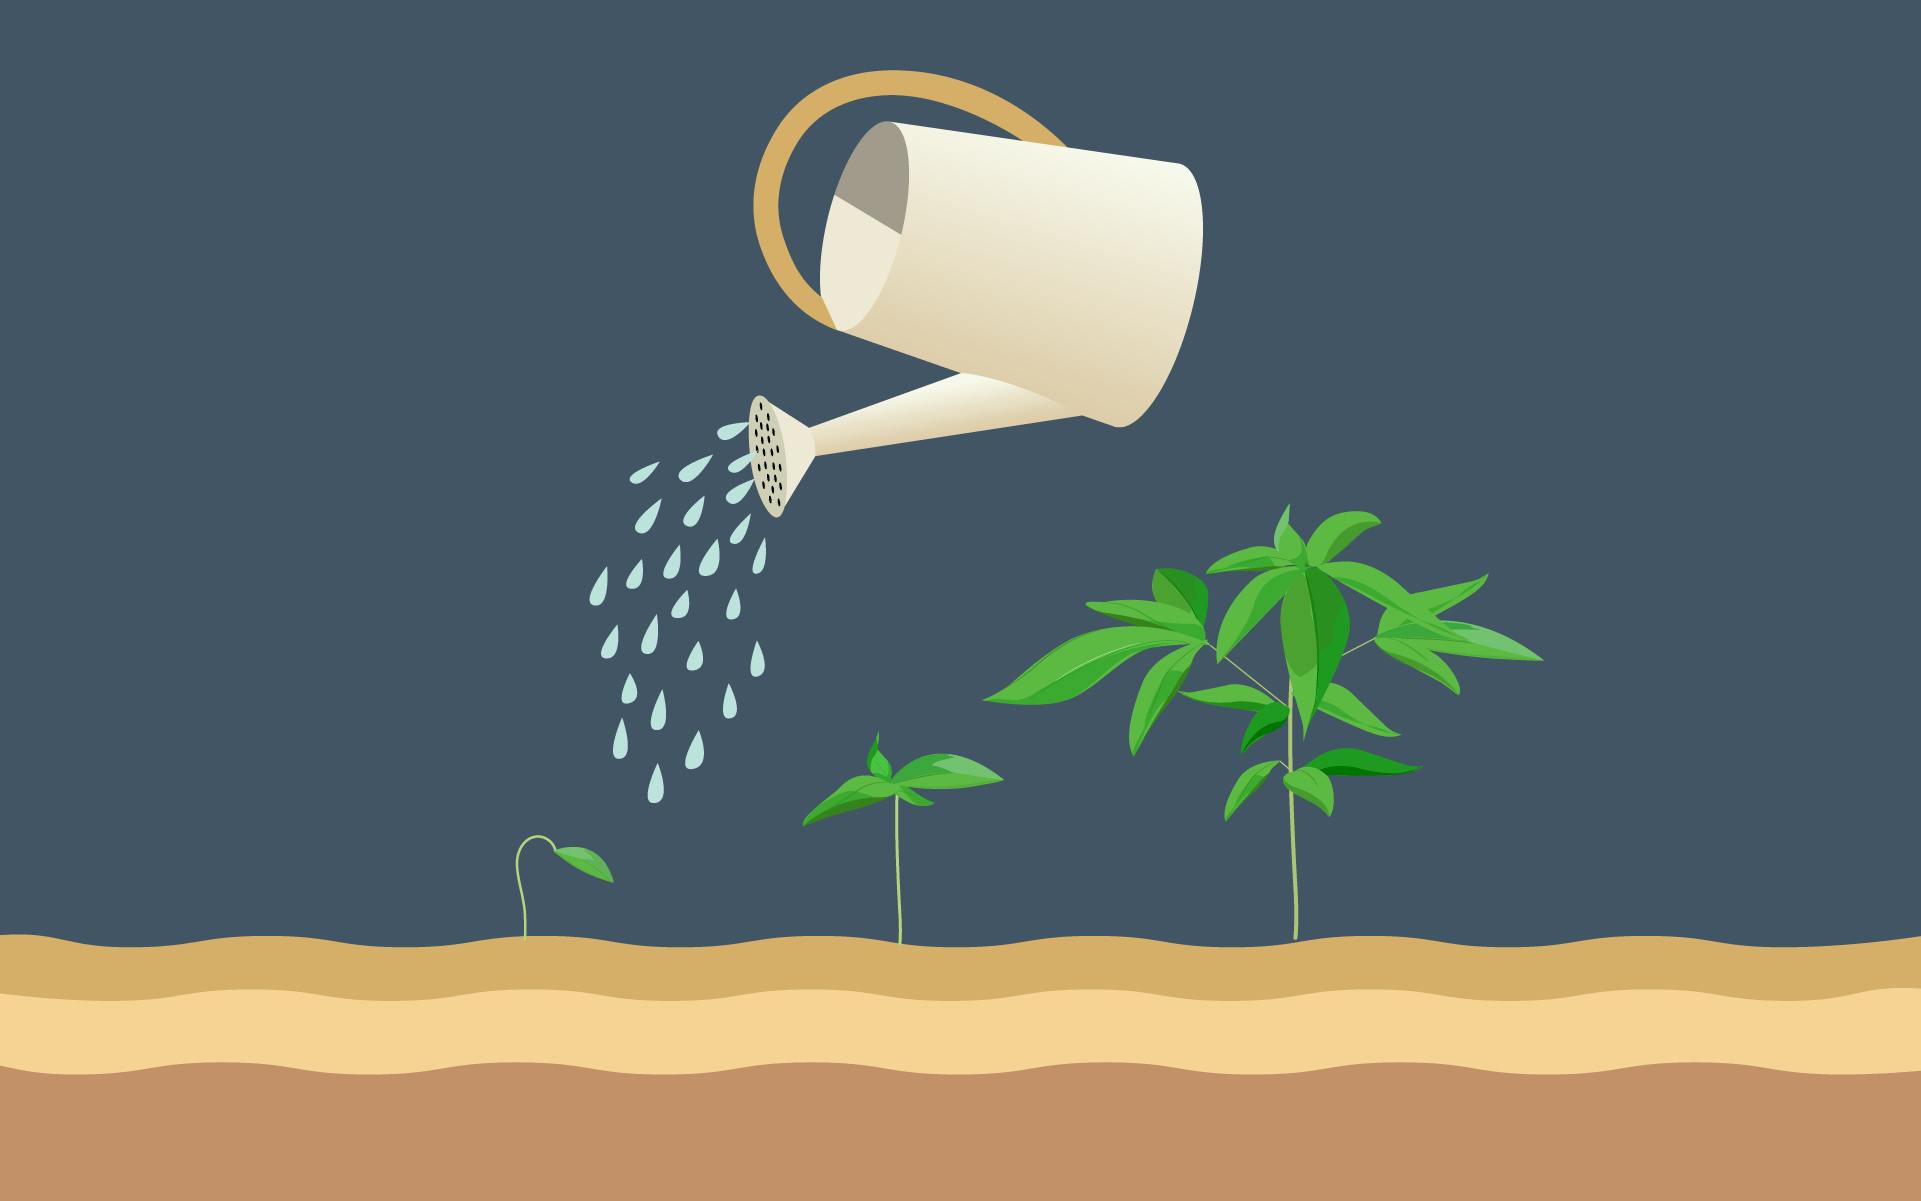
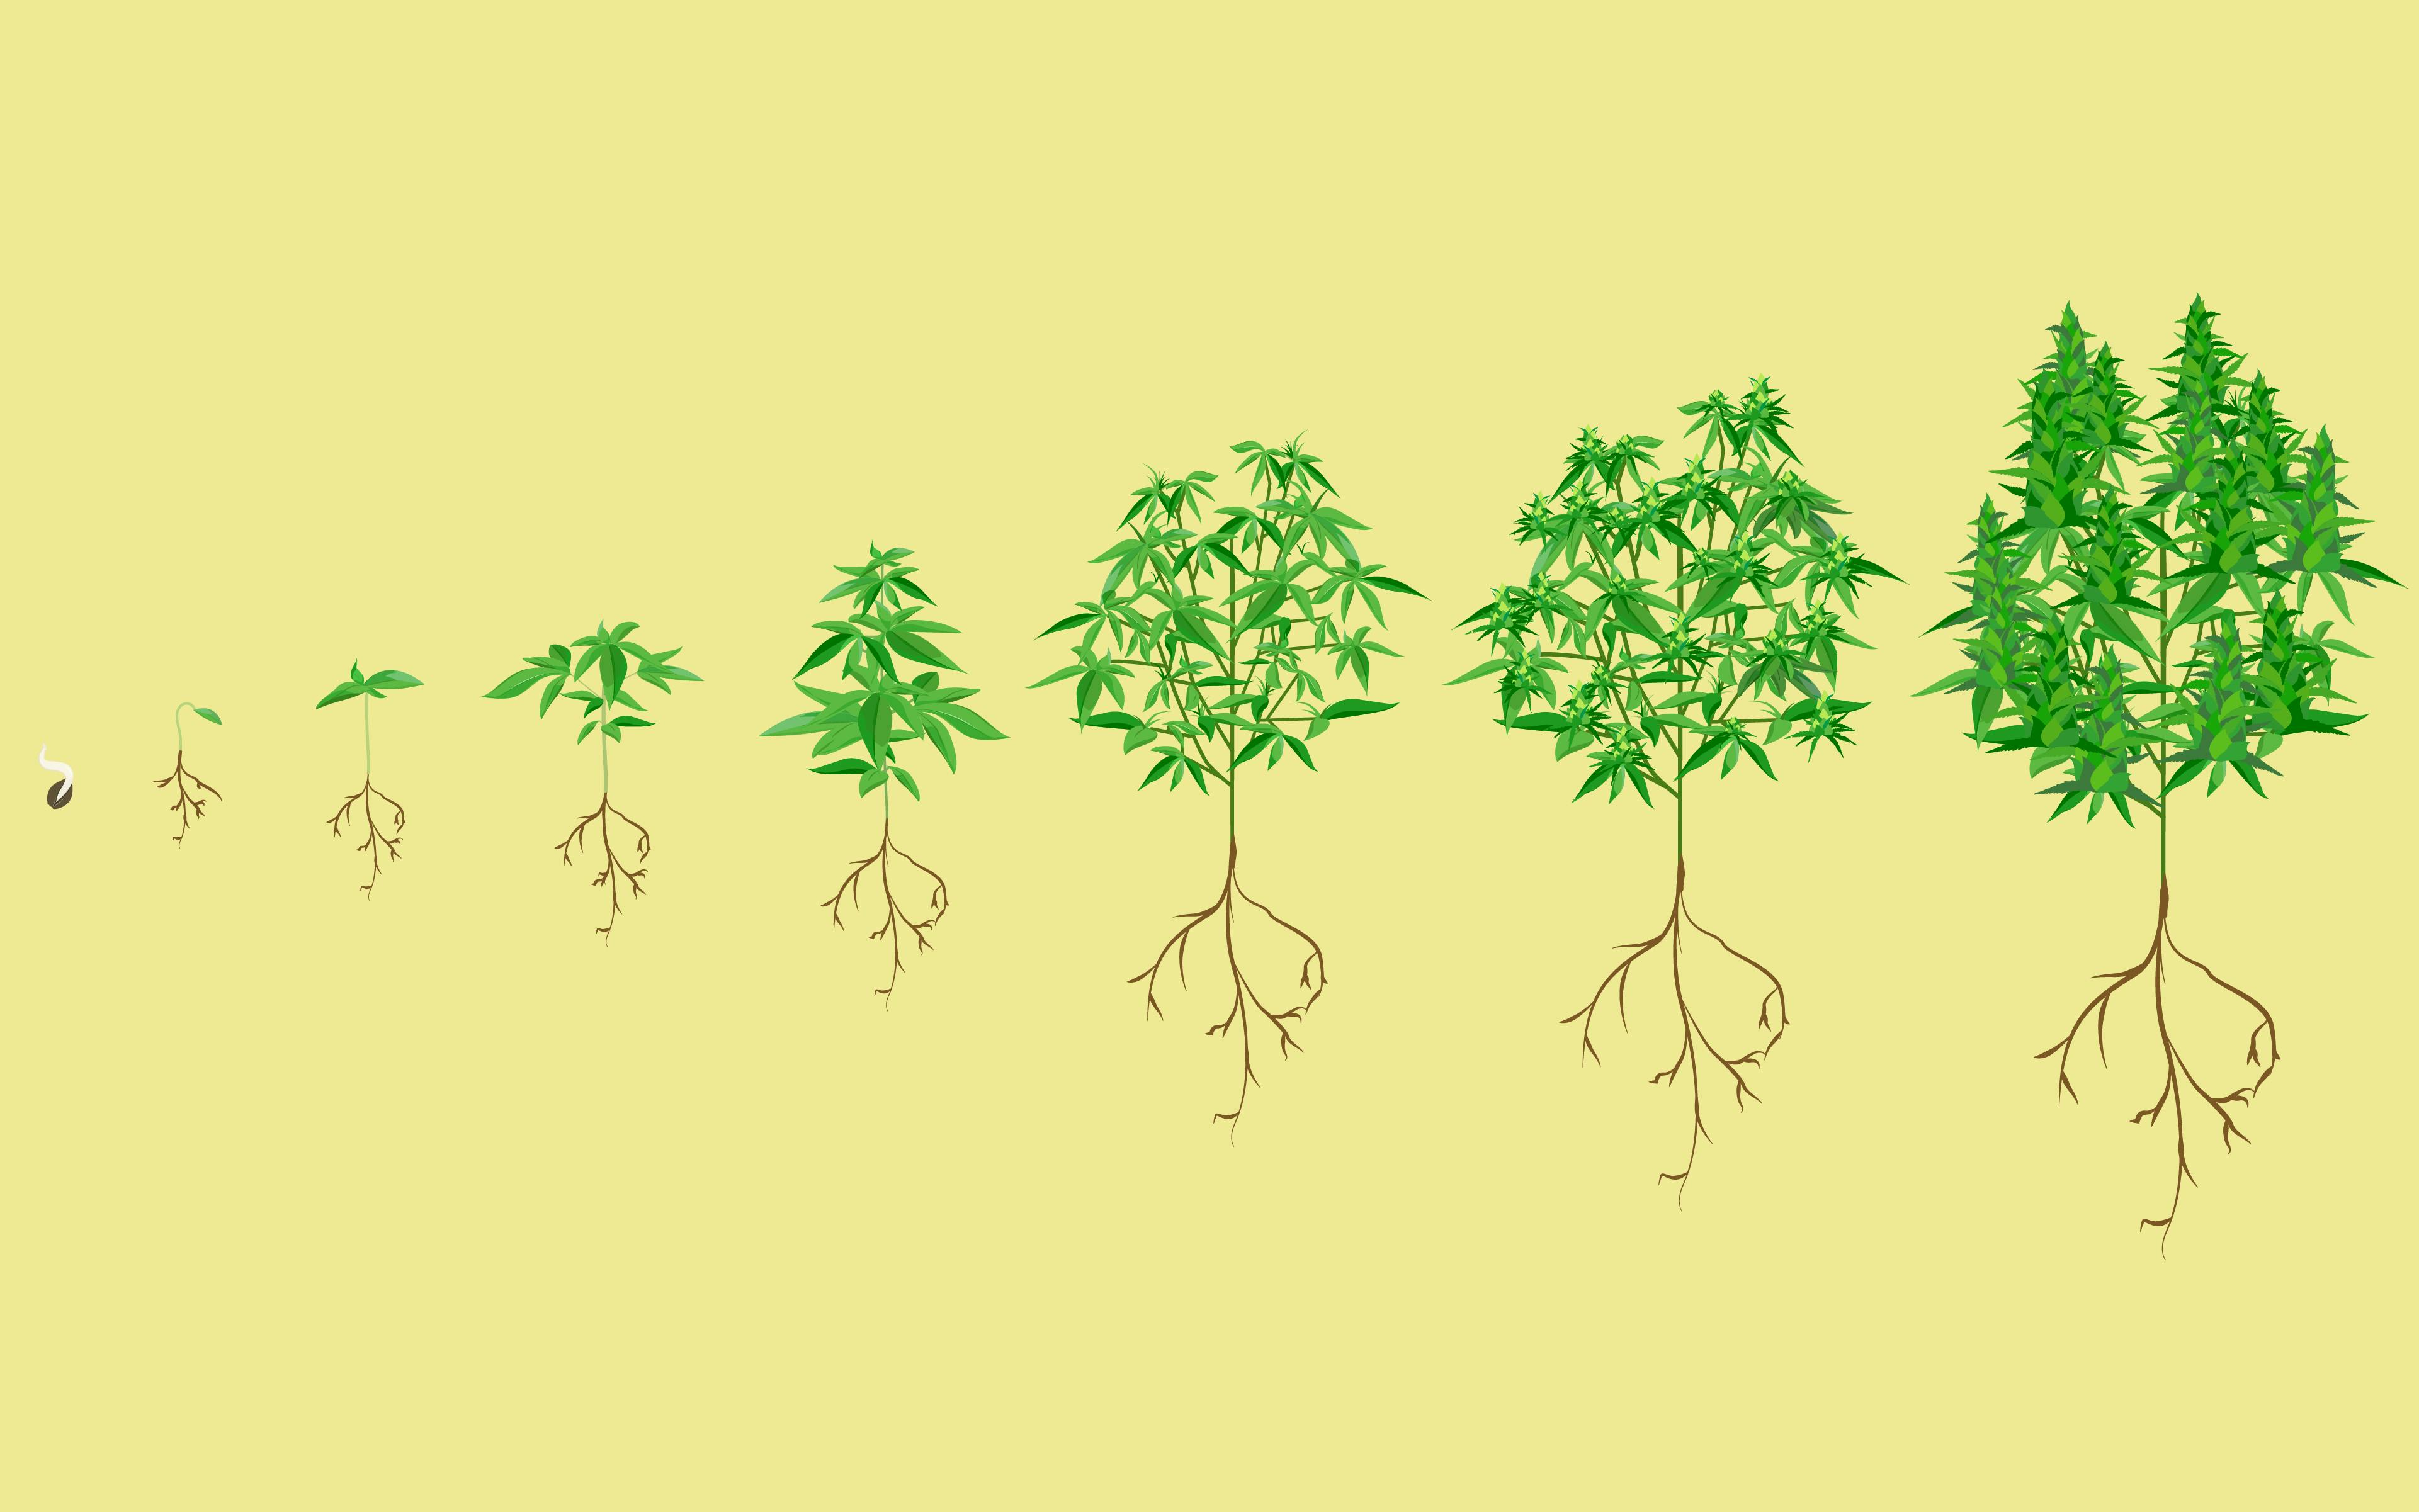
The younger the plant, the shallower the root system, so they will require more frequent watering to prevent those little baby roots from drying out. As the season progresses, root systems grow larger and more robust, and they’ll be able to go longer between waterings.
Water when the soil is dry about ½ inch deep. You can measure this by sticking your finger in the soil down to your first knuckle. If the soil is dry, it’s time to water. The sweet spot is likely every three to five days. Err on the side of deep, infrequent waterings (after the period of establishment). Leave the drip system on long enough (fifteen-ish minutes) for water to penetrate past the root zone, encouraging roots to grow deeper.


